Mining Box

Difficulty
45%

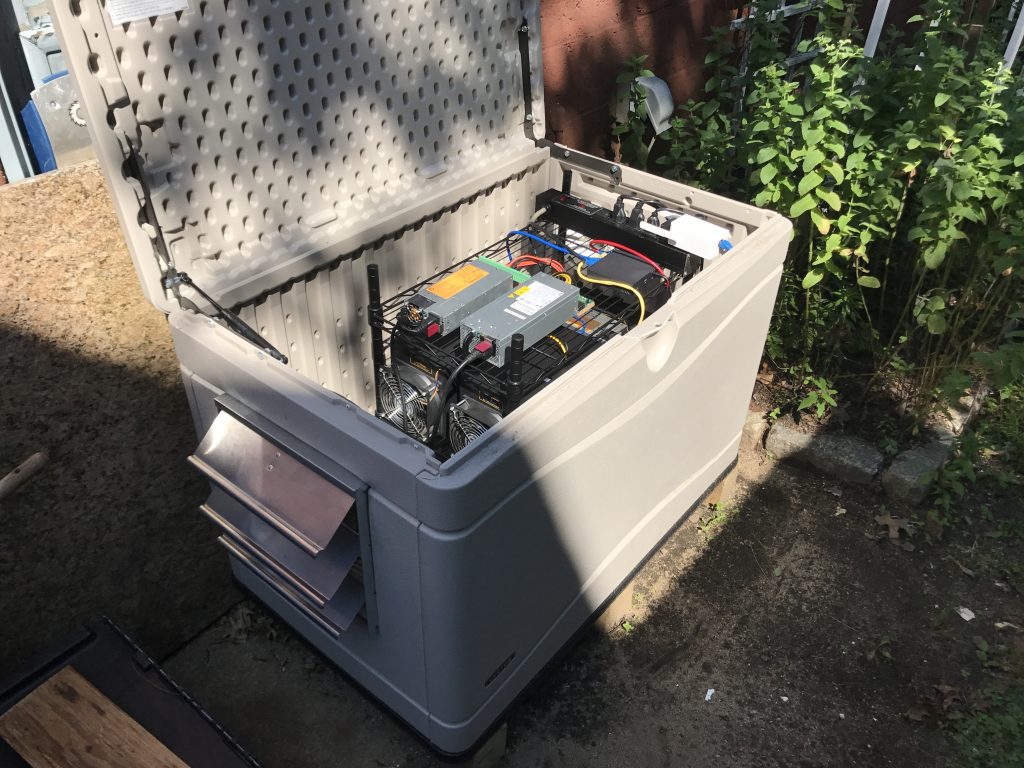
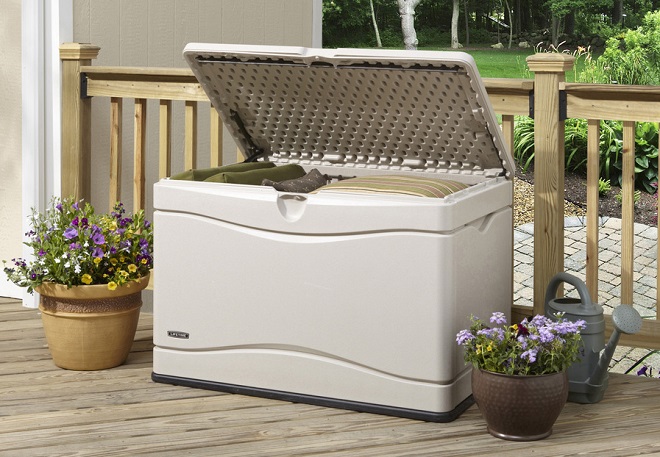
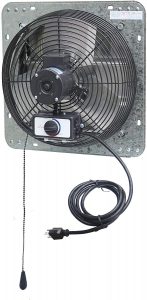
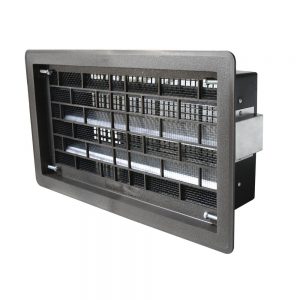
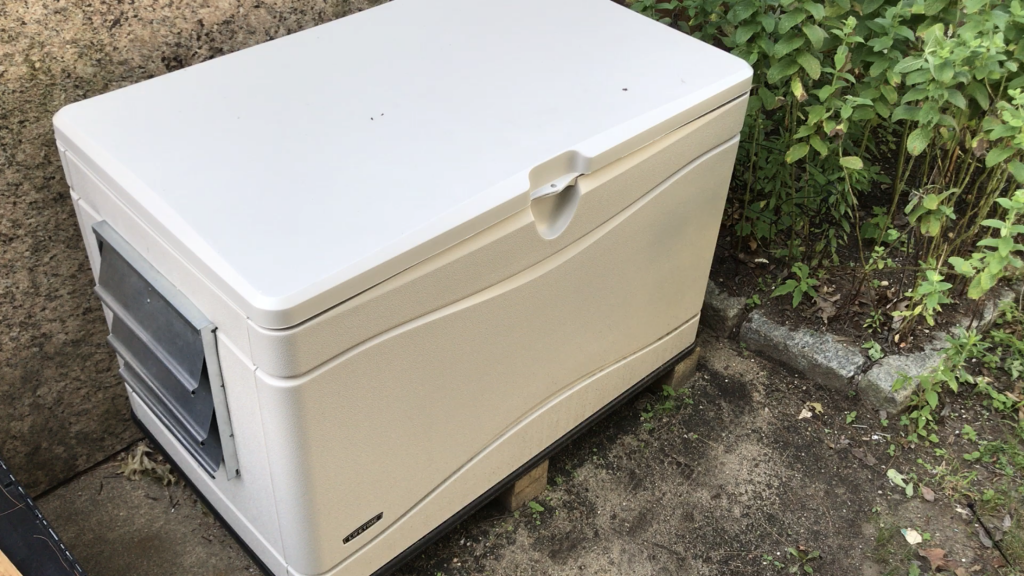
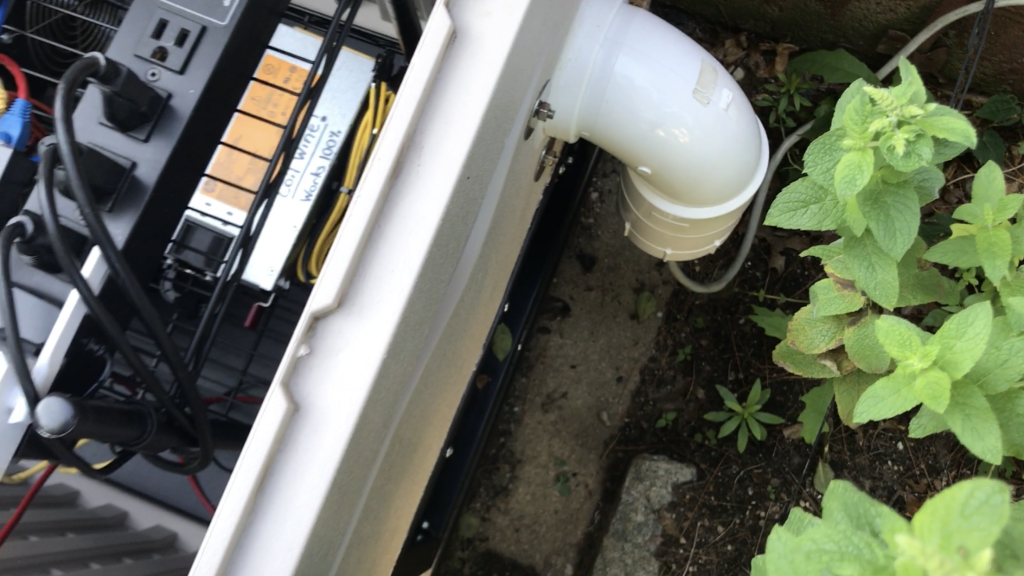
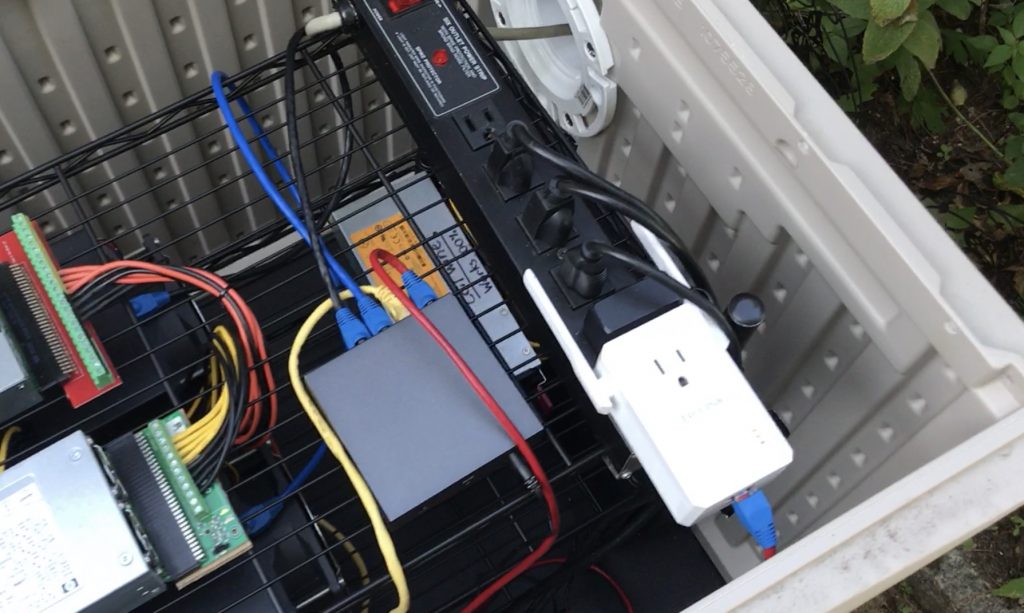
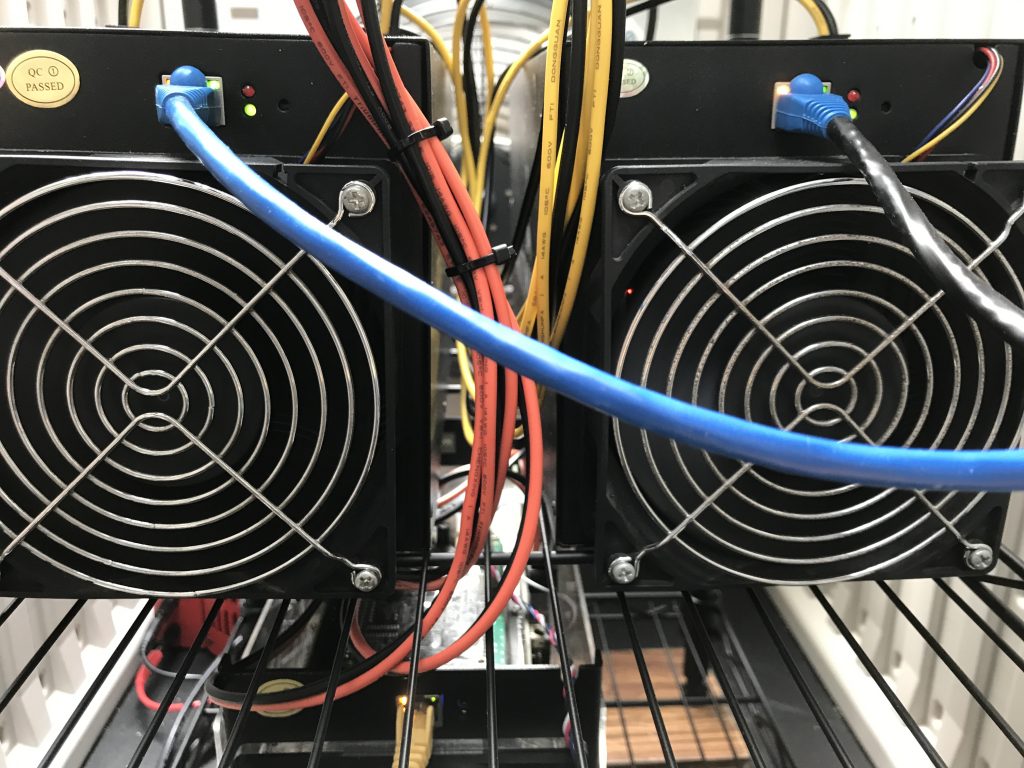
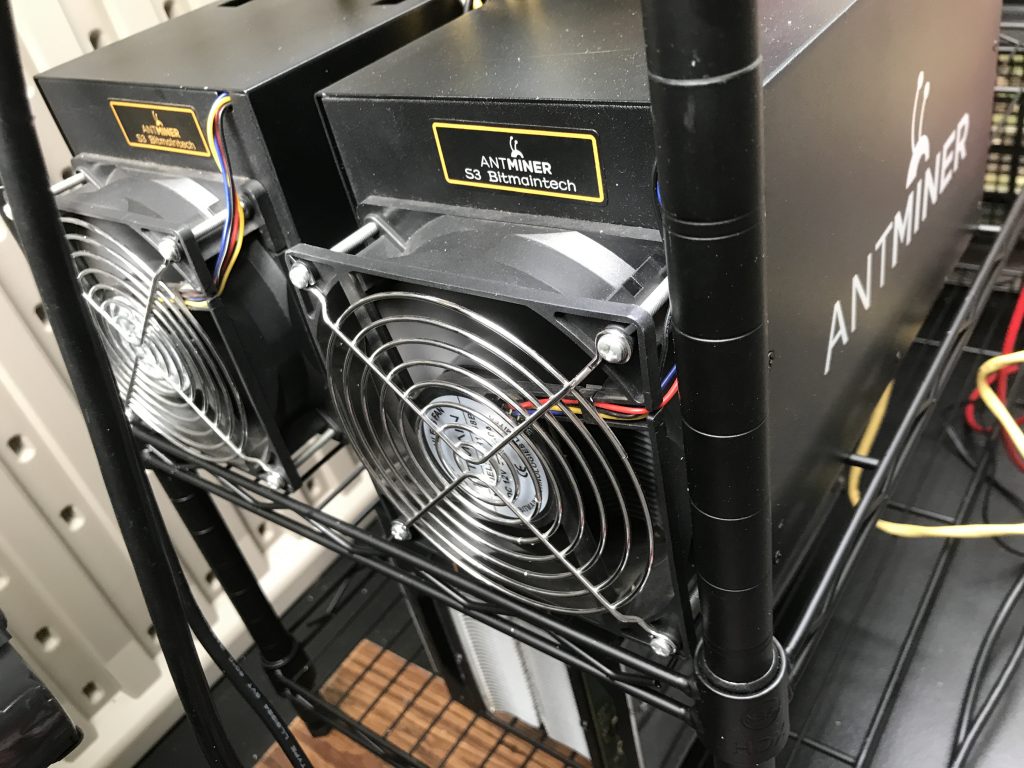
Bitcoin mining currently has been on the downturn, but I still think it may be useful to show you how I made my own micro-mining datacenter back in July of 2017. There are quite a few work arounds to make and special parts to purchase in order to get everything working accordingly, so let this tutorial be a way to help you keep your hair and sanity. 

Parts:

Outdoor Storage Box –Home Depot or Amazon

12 inch Wall Vent Fan 3 Speed –Amazon

Crawl Space Vent –Amazon

Small Wire Storage Rack –Home Depot

TP-Link WiFi Bridge w/ Ethernet Port –Amazon

5 Port Ethernet Switch -Amazon

White Caulk 

4″ Diameter PVC Flange 

4″ Right Angle PVC Pipe

4″ PVC Pipe

4″ PVC Cap 

Tools:

Jig Saw 

Drill 

Hole Saw 

Drill Bits

Screw Driver


The Container

You’re going to need a box to put everything into. The one I used is a 80 gallon deck storage box since everything can fit appropriately without taking up too much space. 

Fan

Cooling is one of the most important parts to ensure the miners don’t overheat seconds after power up. Emitting as much heat as they do it’s expected that lots of fresh air needs to be pulled in to maintain safe temperatures. This fan definitely pulls more air than necessary when at full speed, but with its speed controller you can keep the fan quiet and adjust its speed with outdoor temperature. 

Crawl Space Vent

This will be our intake. Since the whole unit will sit outside we need a way to keep away the crypto swiping critters and any bugs that are attracted to Bitcoins. Additionally it has the awesome feature of closing the vent when it notices it’s internal temperature falls below ~40 degrees fahrenheit, and without electricity!

Shelving

Now something to hold the miners off the floor. In case of water intrusion it’s a good idea to keep them elevated. The shelf fit perfectly inside without the second post screwed in, otherwise it would be too tall. 

Ethernet Switch

Any switch works, but to save energy by getting the smallest one that would work for your setup. 5-ports in my opinion is the most you’ll ever need since you can connect 4 miners and at that point you’ll be maxing put two 15 amp breakers. If you have the S9 or newer you will likely be maxing out an outlet with one miner so if you are only running one miner, then the switch is unnecessary. 

TP-Link Bridge

This is definitely the easiest way to get your miners on the internet without running a super long ethernet cable to the box. You can do that, but a wireless connection thats just okay has more than enough bandwidth for one or many miners. Each miner only requires about 500 KB/s max so a 4mbps connection would be easily able to run a small mining operation no problem. This TP-Link bridge is good for 300mbps so no need to worry about speed. Just make sure the signal is good to fair and you should be looking great! 

PVC Piping

The reason for the 4 inch diameter is because the plug I used is quite large and the smallest size pipe that would fit the plug though is 4 in pipe. Likely a 3 inch pipe may work, but test if your power plug would fit to see if a smaller size may work.  

Now Let's Build It!

Apologies for the lack of photos, but this was a project made back in 2017 and without the anticipation of making it as a tutorial I’ll make my best effort to explain what I did in text.

Step 1. Cut

Use a pencil and mark out all the holes. One for the fan, intake crawl space vent and also for the PVC flange. Cut with a jigsaw and mount up everything. I used bolts with large washers in order to spread out the force holding the flange.

Step 2. Calk

Seal up the flange by using caulk all around the outer diameter where the box’s plastic meets and add some wherever else gaps exist. The caulk is for keeping out the water since water and miners aren’t friends. 

Step 3. Setup the Extended network

First setup your rack inside the box without the second post screwed in and then put a power strip inside. Then use the TP-Link Wifi Extender web interface by connecting to its emitted WiFi signal to setup the link to your current network. Use the wizard to get the ethernet port working by setting up the device in bridge mode and ensure it acts as an extension of the network. Then connect your switch with some ethernet cable up to the WiFi extender and connect the miners. Check your miner web interface over your normal wifi connection and all should work as normal. 

Step 4. Done

Neaten up your wires. Set an appropriate fan speed based on the miner’s temperatures and you’re all done. Happy mining and make some coin!

If you have any questions leave a comment below. If you have any suggestions or just want to say hi do so below!

Leave a Comment

Your email address will not be published. Required fields are marked *