Gimbal Handle Mount

Difficulty
20%

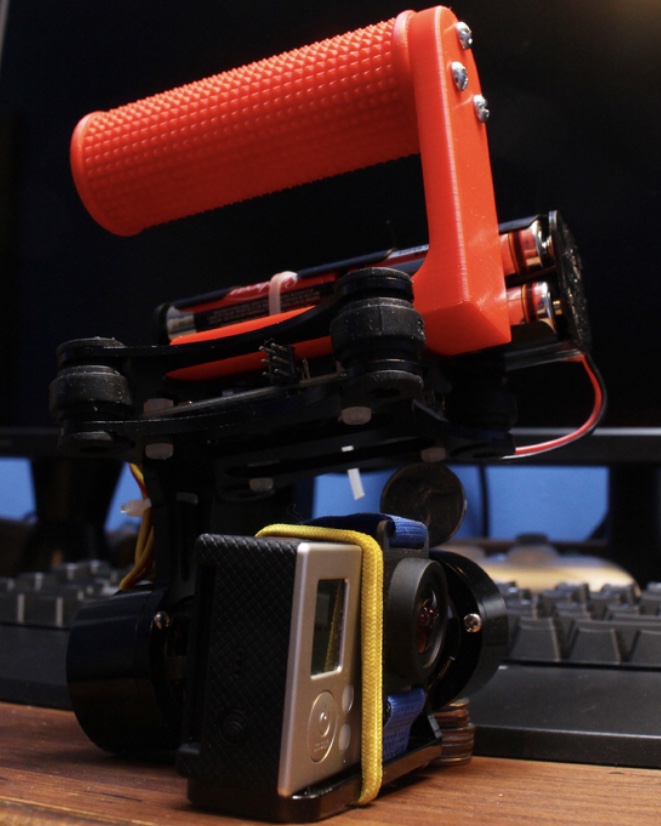
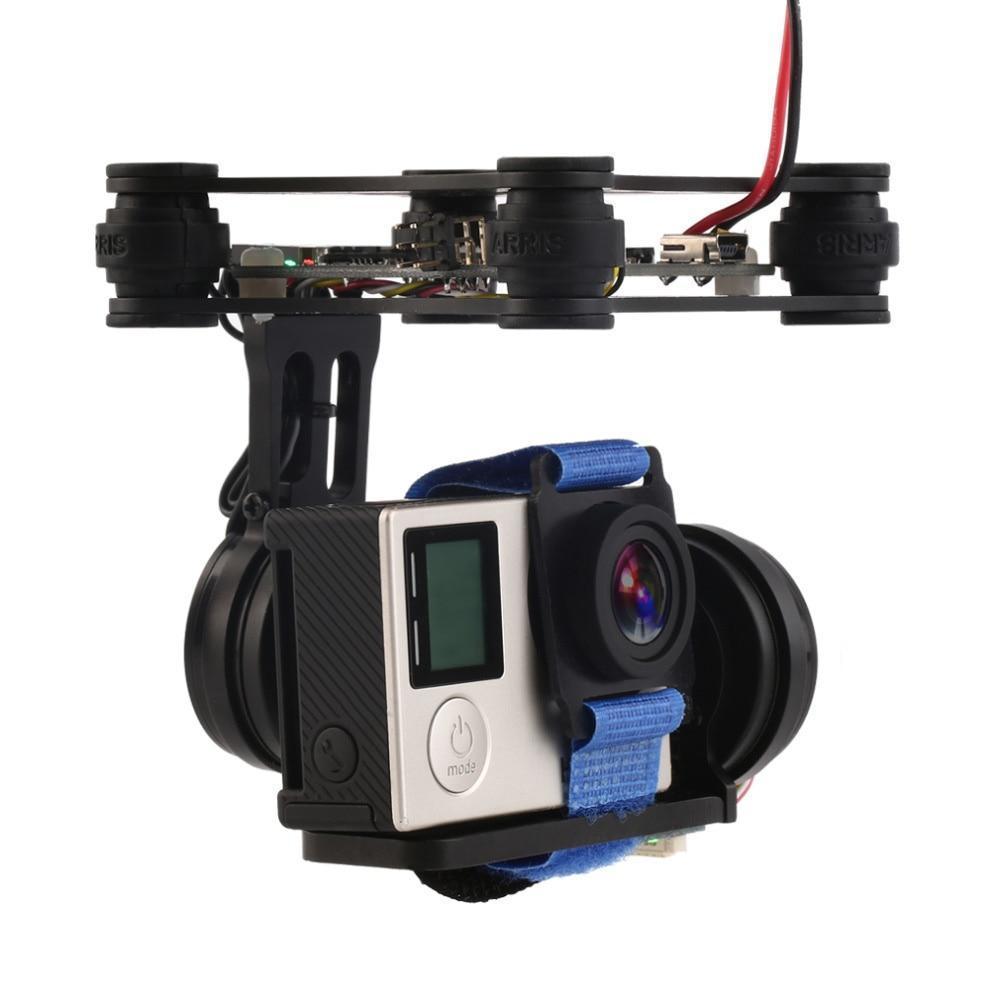
Gimbals are expensive no matter how you put it. Surprisingly the ones for drones are cheap. Like $30-40 cheap. Here’s a handle for that gimbal making it perfect for low shots at incredible stability. Easy to go pro without the pro price. 


Features:

-Many different ways to power the gimbal

-Probably the best setup for low hung shots

-Professional smooth results

-Cheap and easy to do!

Parts:

Drone Gimbal (If you didn’t have one) Aliexpress.com

3D Printed Handle Thingiverse.com

M3 screws 12mm (x2)

M3 Nuts (x2) 

M4 Bolts (any 3.3mm dia.) 20-40mm (3x)

Power Source 12V (8x AA in holder)


Tools:

3D Printer (200 micron res.)

Hex Key and/or Screwdriver 

-That’s it!

The Gimbal

These can be found on Amazon or Aliexpress for about $30 to $35. I recommend the 2 axis gimbal since the horizontal rotational axis wouldn’t be necessary since the user would rotate the assembly themselves to point the camera. Otherwise it would find a home direction and when the user needs to rotate the camera to film a moving subject. It wouldn’t be possible to capture the subject or very delayed depending how the 3 axis gimbal is setup. I have found that in footage it remains very stable since the rotational axis doesn’t need stabilization making the 2 axis gimbal perfect for handheld filming. 

Grip

Print the grip with at least a 30% infill to ensure strength during filming. Additionally this part should be printed in the highest resolution possible in order to keep as much detail as reasonable manageable in the knurling. I printed mine at a 200 micron (0.2mm) layer height and the result was perfect in my opinion.

Find this part on Thinigverse.com and post your make there!

Bracket

For this part an infill of at least 50% is necessary since if the part would to fail it would be somewhere at the base or along the vertical component. I personally made the part at a 95% infill since it’s not to big of a part and wouldn’t use much more plastic as a consequence.   

Screws

I personally didn’t use nylon locking nuts, but it would be a good idea for sure. 

2x M3 12mm Nuts & Bolts

3x M4 20mm Bolts

Now Let's Built It!

Step 1.

IMG_7440

Screw in the 3 M4 bolts or nearly equivalent through the bracket and into the grip. Secure firmly, but hand tight since there is a risk of the plastic fracturing if over tightened. 

Step 2.

IMG_7350

The top metal plate of the gimbal must be first rotated 90 degrees in order to get the mounting holes in the correct position. Simply pull the plate away from the rubber vibration isolators and re attach. Then run your screws through the bracket and through the metal plate and bolt it up on the other side. Add any 12 volt DC power source and done! 

Results

This video shows the stabilization results of the gimbal while riding an electric skateboard in my neighborhood. If you watch carefully you can seen were I almost became someone’s hood ornament. OOPS 😮

1 thought on “Gimbal Handle Mount”

Leave a Comment

Your email address will not be published. Required fields are marked *